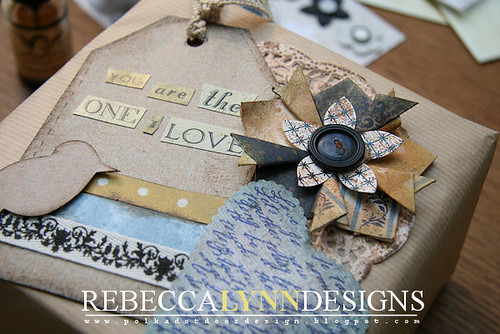
I wanted to share a fun embellishment with you all today. I first saw it at another blog and decided that I could make it too. After a little bit of folding and refolding and a few light bulb moments it all came together. I used the embellishement on my recent OTP project, but today am going to give you the step-by-step instructions so you can recreate this on your own. Ready? :)

The first step is to cut (5) 2 x 2 inch squares. You can use all the same paper if you like, but I really like how it turned out using 5 seperate patterns.
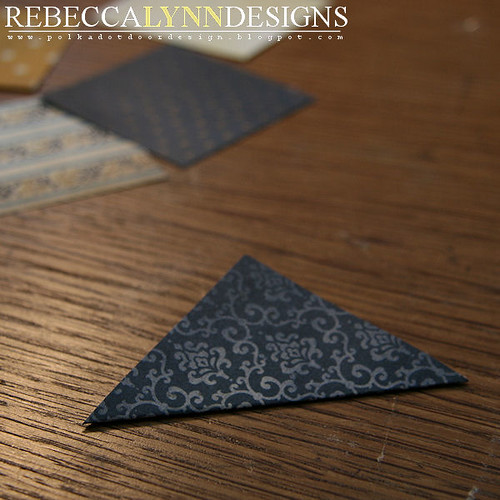
Fold the papers once diagonally across the center.

Fold the two sides inwards to meet the centre 'corner' of the triangle, (when you hold it flat it will be square).

This step took me a few tries to get the fold correct.... Where the two folds meet in the middle, fold them back on them selves once.
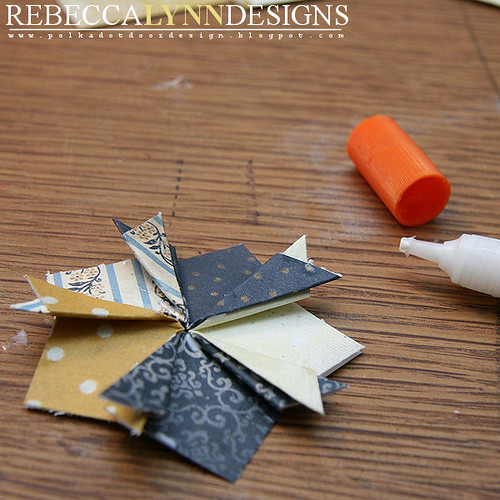
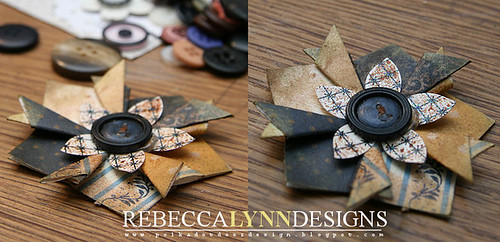
Using a wet glue or strong adhesive, slot the folded pieces together and glue each 'petal' in place to create the flower shape. Then embellish the center as you like! I added a small paper flower and button as well as misting the entire flower with glimmer mist.
Thanks for looking!

2 comments:
this is so great. I am so going to make these! Thanks for stopping by my blog!
That is just stinkin cute! Going to have a try at thesee! Thanks for sharing.
Post a Comment