Products you will need
Diecut Sheet, Buttons & Emerald Dots
Black Ink, Sewing machine, Black Thread
Foam Dots and Plain Chipboard to layer you photo on.
***********************************
1. Using your sewing machine, randomly sew on the top right hand corner of the Woodgrain Paper, as well
as a little zig zag at the bottom
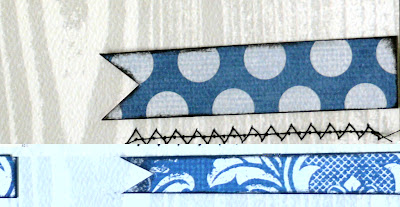
2. Now cut the Damask, as well as the back of the Woodgrain to measure as shown below -
Ink all the edges
3. Do the same with the bottom two little strips which will measure the same length as your zig zag sewing
4. Cut your photo down to size as well as the Bee Paper. Ink around the edges, and place your photo
onto a spare piece of chipboard - this gives the photo a little height and dimension.
5. Using the little triangles from the Diecut sheet - ink around the edges and put some foam tape or dots
underneath each one and place under your sewing (top right hand side). Tip: If you don't have the
diecut sheet, you can just make your own triangles.
6. Lastly place a button on the round diecut circle and place on the top of your photo as well as the Title
(Remember) - to tie the yellow button in I have used the yellow Emerald Dots at the bottom of the Title.
Your layout is now done, simple right? Hope you have enjoyed the step by step instructions, and I will be back again show casing some other layouts using this gorgeous range of paper.
TFL and Happy Scrapping
Heidi


2 comments:
I love this, Heidi! The blue agains the white looks amazing- great step by step too- love the stitching!
xErin
Ohh yes the colors and designs are great, I love this LO. Its a must do for sure..TFS Heidi
Post a Comment