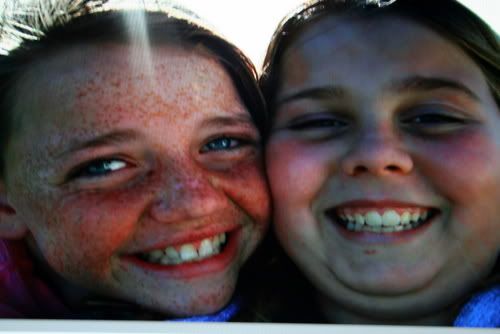
Today Im going to show you the Retouch button on Picasa as it is very easy to use and is a lot of fun. When i took these photos my DD had a friend over to stay so i showed them what theyd look like with no freckles (for the friend)and with freckles for my DD! My DD also had a zit that I removed which she was most impressed with and although I would normally leave it like that I thought ..whoa this would be a useful too for those times when we want to look our best...hmmm opening a can of worms here Id say! lol
So how to? here is the original photo.
1. I click on the retouch button.
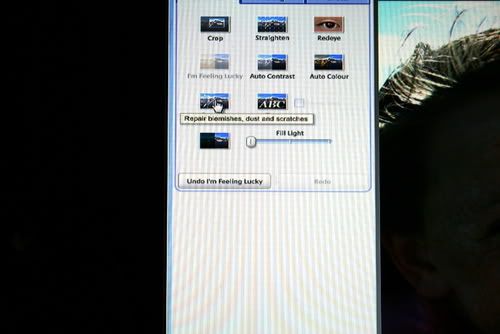
2. Click on the brush size tool to have a large area or small area that you are going to retouch.
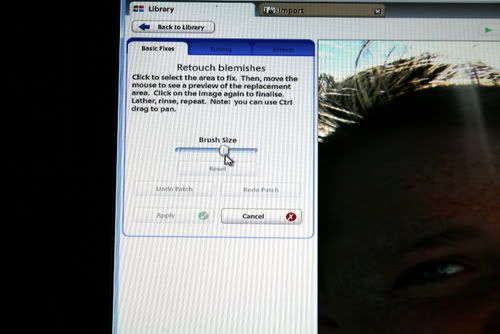
3. Click on the area in the photo that you want to fix.(Ive clicked on the friends freckles).
4. Click onto another area that will fix it (i have gone to my DDs skin to get the fix).
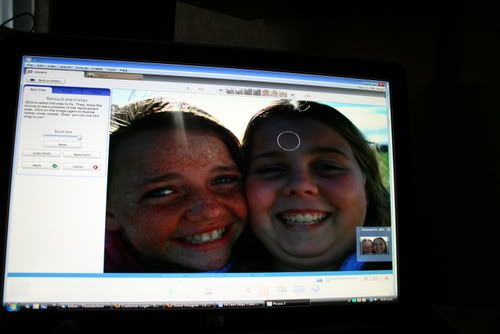
It might take several attempts to fix it. Save your photo fix at the end before printing (which you can undo later as it only saves it in Picasa not in your Picture files on your computer.
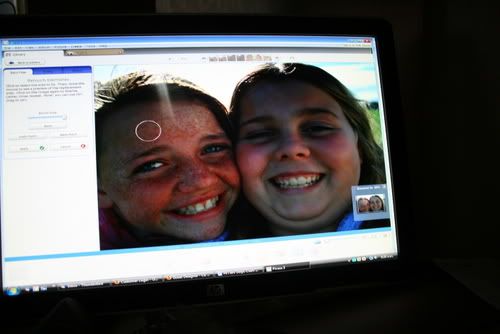
Heres what i did ..
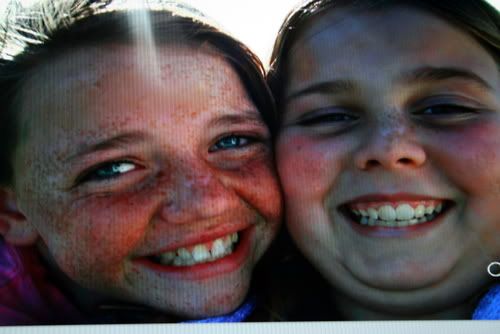
I removed the zit, put freckles on my DD and removed some of the freckles from the friend. (I actually totally removed them all-not shown here)
and just as an aside. Both girls thought it was fun but the friend didnt want to lose the freckles (even though she hates them) and DD didnt want the freckles but was happy to lose the zit! So before you hit delete picture (because you dont like it), have a play around with the retouch tool. But beware....this is addictive!
Delys
1 comment:
Great stuff! Thanks!!
Post a Comment