Here's a fun last minute Valentines Day card using the Echo Park Yours Truly range. It's always fun to have a bit of interaction with your projects so today I'm going to show you how to make an easy moving pinwheel for a card or layout.
Step 1
Cut a perfect square and measure in 4 centre points. For example this square measures 7 x 7cm and I measured in 3cm from each corner which left me with a 1 x 1cm space in the middle.

Step 2
Cut from each corner into the corresponding centre point.

Step 3
Lightly curl and stick down every second point until you create the pinwheel effect. To make it less bulky for when we cut our centre hole, I chopped the tip off the points that were being stuck down.


Step 4
Make a decent sized hole in the middle of the pinwheel (about .5cm) and place a brad embellishment through the hole.

Step 5
Turn over the ends of the brad leaving room for the pinwheel to spin around.
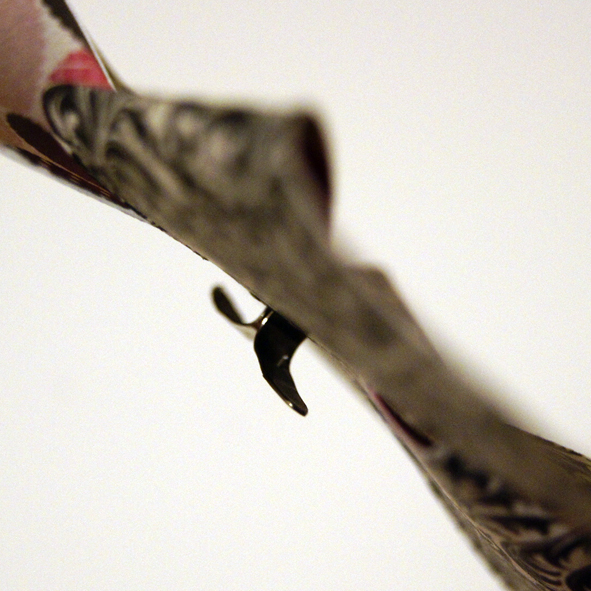
Step 6
Stick in place with a strong glue making sure the glue only touches the end of the brad and not the pinwheel. I used a hot glue gun so I could get a decent sized blob and it dried in place fast and firmly.

And there you have it! A simple but effective fun embellishment for your card or layout.

I changed my mind on the colour halfway through making the card hence why my final pinwheel is different on my card, I do that a lot! lol.
Supplies used: Echo Park Yours Truly Range, Bazzill Cardstock, Crystal Bling Brad, Paper Doilie, American Crafts Thickers, Tattered Angels Glimmer Mist in Pearl, White Gel Pen
x Lana
2 comments:
Very cool Lana! I've made pinwheels before, but never moving ones. Must try this!!
Lovely Lana - love the moving pinwheel idea too xx
Post a Comment