Showing posts with label Cards. Show all posts

Saturday, 19 January 2013

Final inspiration

Hi everyone

Well today is my last official post as a design team member for Scrappin' Patch. I've had a lot of fun and learnt so many new techniques and I'm so grateful to Adrienne for welcoming me on the team. Thank you for all of your lovely comments too.

As this is my last post I thought I'd use my scraps from various posts throughout 2012 to make cute little gift cards. See if you can guess what each collection is :)


x Lana

Sunday, 13 January 2013

Die cut flowers by Basic Grey

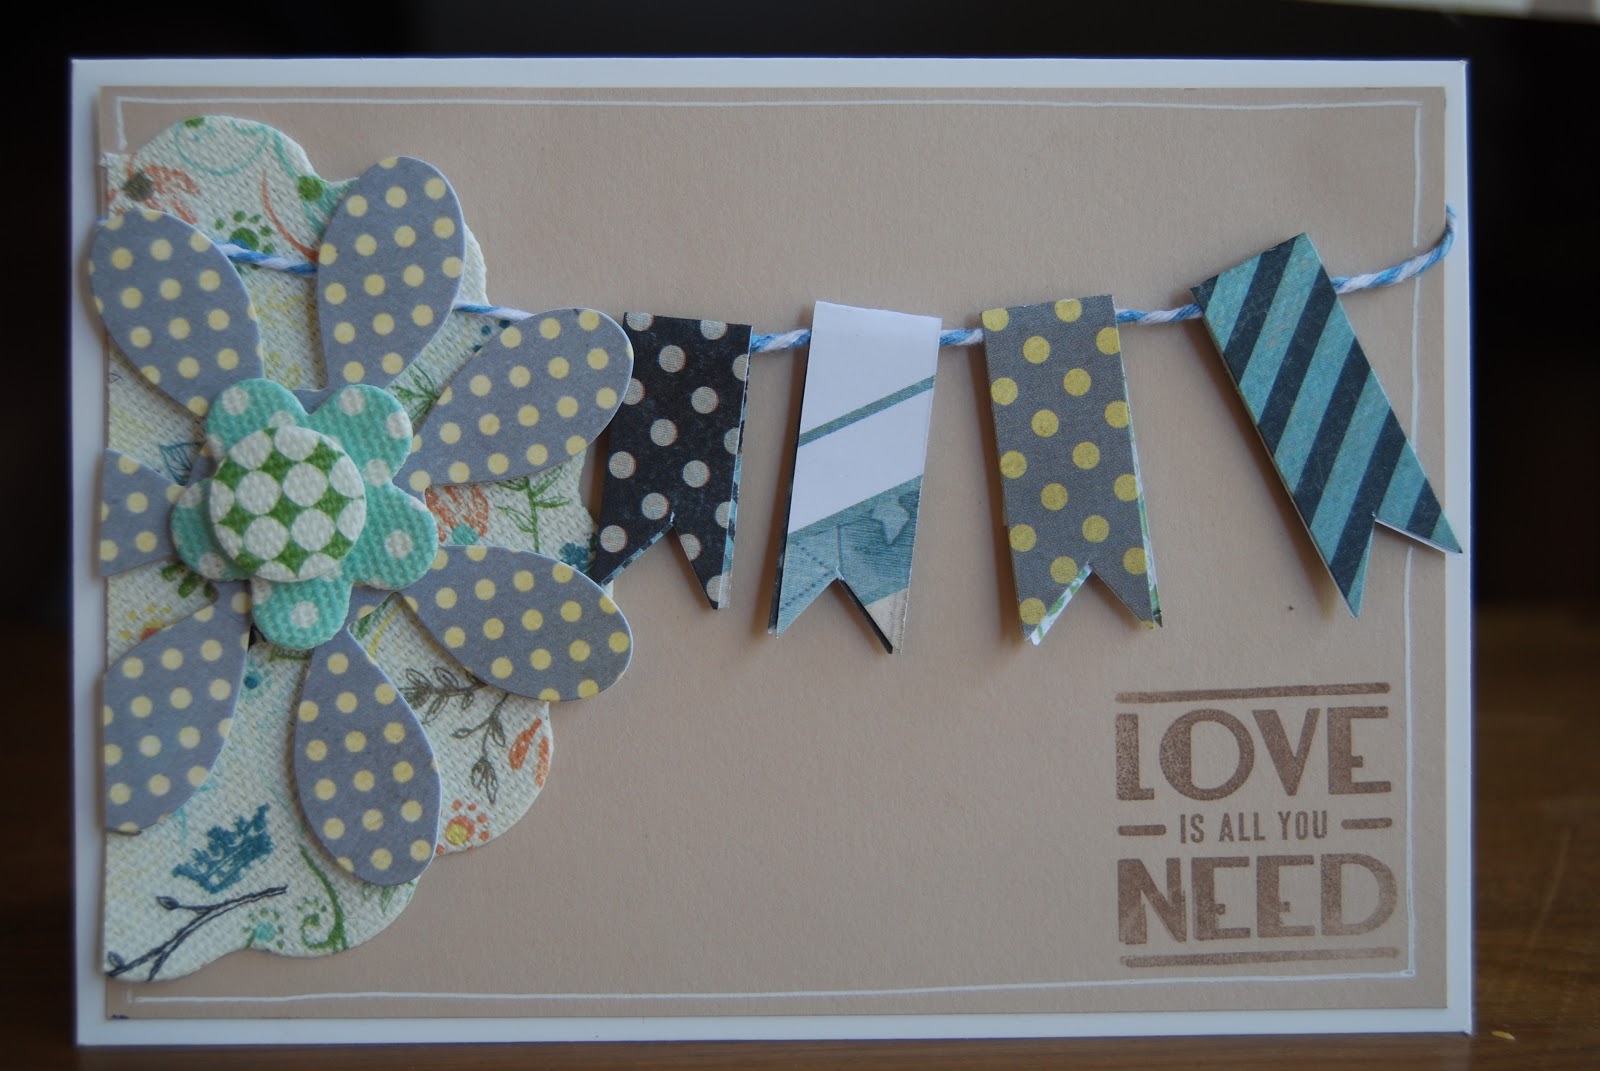
Today I'd like to focus on the Basic Grey die-cut flowers. These little flowers have the flexibility to blend into the background of a layout due to them being one dimensional, or can be built up, layer upon layer, using foam tape to create gorgeous embellishments. They range in size and come in cardstock as well as fabric to create an added texture to your creation.

I have used the Serenade die-cut flowers for this card with scrap strips from the Serenade paper range to create the bunting, cute huh?!

love Bee

Monday, 10 December 2012

DT Inspiration

Hi everyone!

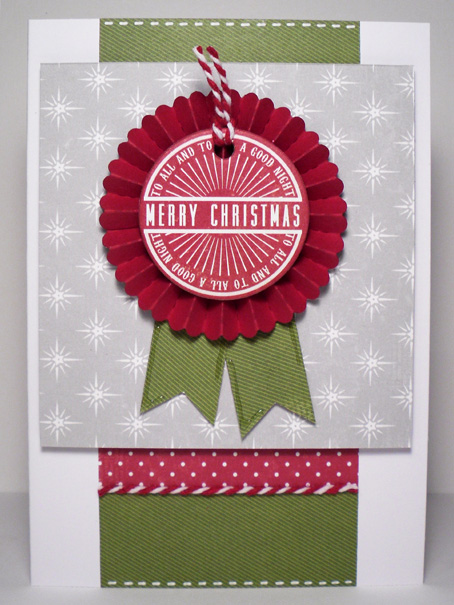
Today I'm sharing some more Christmas card inspiration using the Very Merry papers from Echo Park.

This card was actually made from scraps so going into it I was a bit unsure as to how it would turn out, but I'm really happy with the result.


My main feature of the card is a rosette I made using the Tim Holtz Rosette Die (large). I finished the rosette off with a chipboard sentiment from the My Mind's Eye Winter Wonderland Chipboard Elements sheet and I had a bit of cut off baker's twine laying around so I tied that to the top. I then added some banner details behind the rosette to make it pop.

This is my last post before the big day so I hope you all have an amazing Christmas with those close to you and I'll see you in the new year!

x Lana

Saturday, 24 November 2012

Imaginisce Stamps

Hi everyone!

Today my card features a cute Christmas Tree stamp from Imaginisce. I love Imaginisce stamps.


  • They are the perfect size for cardmaking and they're easy to store away
  • Feature so many cute images
  • They are clear stamps which I prefer over mounted stamps. This way you get a clear vision of where you're stamping your image. To use you just pop the clear stamp on an acrylic block and away you go
  • They are so affordable! They're usually around $3 each with 1 stamp in each package. 


I'm starting to build my own little Christmas collection as you can see below. I've used the top stamp on my card.


My card using the Very Merry range from Echo Park...


Thanks for stopping by!

x Lana

Supplies used: Imaginisce Christmas Cheer Candle Tree stamp, Very Merry papers by Echo Park, Kaisercraft Pearls in red.

Thursday, 22 November 2012

DT Inspiration - Christmas!

Hi everyone!

Well it's getting very close to my favourite time of year - Christmas! I just love making Christmas cards every year with a spot of Christmas music in the background to get me in the spirit. This week was no different. With the Diana Krall Christmas album in the background I made these 2 cards using Very Merry papers from Echo Park.


Make sure you stop by in the weekend to see some cute Christmas stamps that I'll be sharing. 

x Lana


Wednesday, 21 November 2012

OTP Inspiration : Rebecca

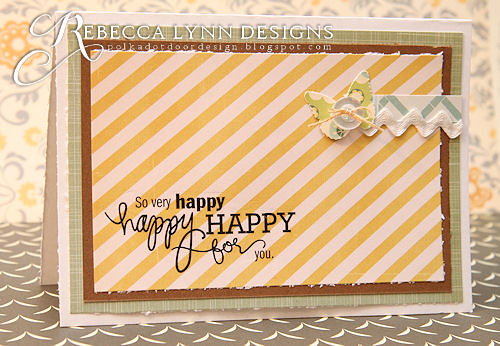
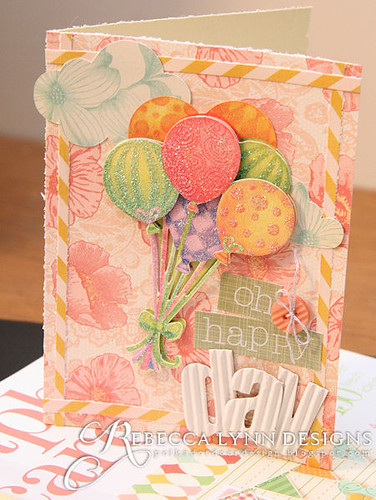
I have two cards to share with you today, both of which are made from the Nantucket line, by Paper Paislee, though they're such different cards you'd hardly know they came from the same paper pack! I have been enjoying this line so much, its incredibly versatile and so easy to match other products from my stash too.


Thanks for stopping by!
Rebecca
www.polkadotdoordesign.blogspot.com

Monday, 12 November 2012

Step By Step - Kiwi Christmas

Hi everyone!

Today I'm going to show you how to make a Christmas card with a kiwi twist. I've been making this card for years, it's one of my favourites and one of my most popular cards at my craft market stall.

Let's begin!

STEP ONE:
I grabbed some scrap paper and did a freehand sketch of a jandal and the part where you slip your foot through. (Comment on this post if you would like a template for this and I can post one on the Scrappin' Patch Facebook page). Cut your shapes out. You only need one of each.


STEP TWO:
Trace around the shapes onto your chosen cardstock, flipping the shapes over to get the other jandal. Assemble your jandal by attaching the thong to the base. I used glue at the ends of the thong and then some dimensional adhesive at the top to make it pop a little.


STEP THREE:
Cut some small circles and leaves out for your holly. These don't need to be perfect. I actually prefer them when they're a little bit rough.


STEP FOUR:
Attach your holly to the jandals with some glue and dimensional adhesive. To give the berries a little shine, I covered them with some Glossy Accents.


STEP FIVE:
Add your Christmas jandals to your card base, include a message and there you have it - a fun kiwi Christmas card!


Hope you enjoyed this tutorial. I can't wait to share more Christmas cards with you this month :)

x Lana


Saturday, 3 November 2012

DT Inspiration

Hi everyone!

This month I have the pleasure of working with the Little Boy Blue range from Crate Paper. I had already purchased the Little Bo Peep range which I had fallen in love with. This range is just so adorable!  I love the retro/vintage style and the colours and illustrations.

My first card uses one of my favourite colour combinations - red and powder blue. I love the main illustration of the boy on his push bike. This is from the tag cuts sheet that features a whole heap of different tags - perfect for layouts or cards.


My second card features cute peg details on some yellow baker's twine. I'm really into chevron type patterns at the moment so I used the yellow and white chevron as my base against the natural card.


I hope this provided you some inspiration for your next project.

x Lana

Saturday, 20 October 2012

DT Inspiration

Hi everyone!

Today I'm sharing some final My Mind's Eye inspiration from my last kit - the School Daze range and the Miss Caroline Howdy Doody range.

I loved the main pattern on my first card so I wanted to show a lot of it and make it the main feature. This card also shows off a lot of my favourite design elements - rounded corners, faux stitching and a rosette and not to mention the simple design. For a little bit of effect I put some glossy accents on the apples to create a bit of shine.


My second card also features one main element and that is the Miss Caroline rub-on flowers. Rub-ons are so quick and easy to use and most come with a tool of some sort to help 'rub-on'. The Miss Caroline Rub-ons include a range of flowers and decorative pieces in a few different styles. I thought the flowers I choose would be just perfect for an anniversary card so I finished the card off with an anniversary sentiment.


I hope you all have a wonderful and safe long weekend. Keep an eye out on the blog today for your next ingredient for the long weekend challenge!

x Lana

Supplied used: My Mind's Eye School Daze, My Mind's Eye Miss Caroline Howdy Doody Lovely Mum's Paper, My Mind's Eye Miss Caroline Howdy Doody Happy Rub-on Transfers. 

Tuesday, 9 October 2012

OTP Inspiration : Rebecca

With fall now in full swing it feels like a good time to shut out the cold weather and get comfy in my craft room with a mug of tea, which is exactly what I did over the weekend. Its been a busy summer for me with very little time for crafting, but who can complain. We moved from a no-so-nice rental to our own little farmstead, took some road trips to visit family, but best of all, welcomed an addition to our own little family in August! Crafting had been put on hold because I wanted to concentrate my energies on getting to know my little girl. But with this holiday weekend (Thanksgiving in Canada) I was able to take some time while Daddy was home to help watch Sofia.


Thanks for stopping in to take a peak!

Thursday, 20 September 2012

My Mind's Eye - School Daze

Hi everyone

I'm back to show you a little inspiration using the School Daze paper pad from My Mind's Eye. This pad is super-CUTE! I love the colour palette and pretty much every pattern - as is the case with most MME collections :)

Education and schooling has been a hot topic in the Canterbury region this past week so I thought I'd make a card to say thanks for all the hard work our wonderful teachers do at all levels.


I love the way it's turned out. Bright and colourful with some texture, dimension and a hint of gloss using Glossy Accents on the little hand-cut arrow details. I used some Thickers from the Amy Tangerine range to say 'THANKS'.  I love how the letters aren't perfect so they have a handwritten effect - perfect for this sort of card! I used Doodlebug Design Inc Teensy Type to say 'teacher'. I love these alphas too. So darn cute and a fantastic price.


My second card is a 5th birthday card. I've used green and yellow as my 2 main colours which I think can suit both a boy and a girl. I made a polaroid to frame 'Happy birthday!' and I left a space on the polaroid to include the name of the birthday boy or girl. The stars are from FabScraps and I just covered them with cardstock to give them some quick colour. This card also has a lot of dimension as all of my cards do! I don't think I've ever made a flat card. I just love how the dimensional stickers just give that instant pop.


Thanks for stopping by. Don't forget to check out the Scrappin' Online store for these goodies and so much more including some gorgeous new product from Teresa Collins, Prima, Bo Bunny and more!

x Lana

Products used: My Mind's Eye School Daze Paper Pad, FabScraps Chipboard Stars, Doodlebug Design Inc. Teensy Type Alphas White, Amy Tangerine Journal Thickers White, Glossy Accents.

Monday, 17 September 2012

6 x 6 paper pads

Hi Everyone,

Please be aware this is post is very photo heavy! :)

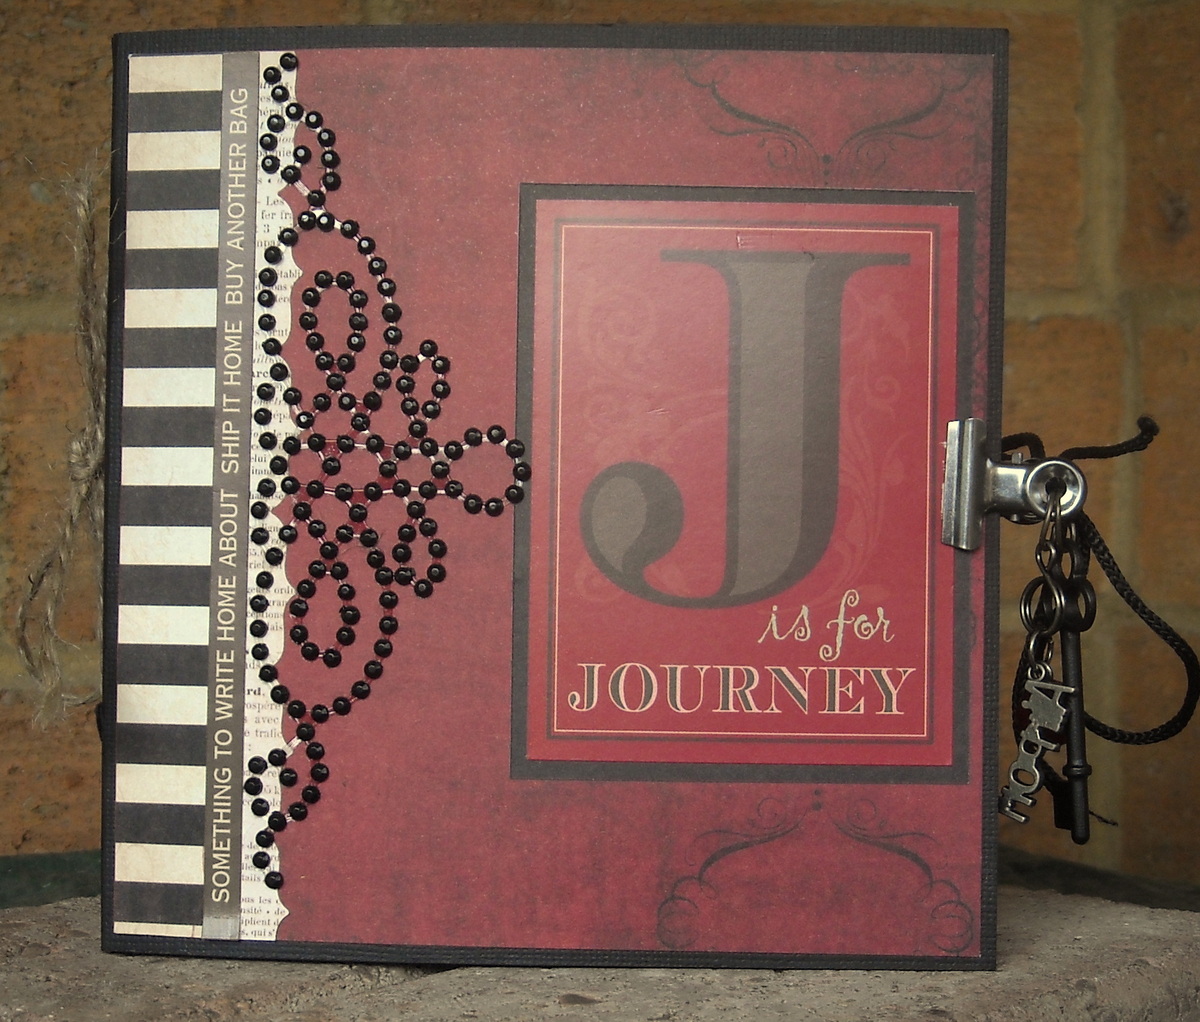
My Dt kit included a 6 x 6 paper pad.  Usually I use these to make cards, they're really easy and quick to use for cards but I wanted to do something different.  This time I decided to make a mini album out of paper bags, and use the paper pad as my starting point.
My paper bags are 10.5in x 5in when folded flat; to make the pages just layer the flattened bags on top of each other and fold in half, and you have pages that are 5 x 5inches. To make the cover just take a piece of cardstock 12 x 6inches and find the point in the middle where you can score two vertical lines 1/4 of an inch apart - this creates the spine of the album.

This is the first of my examples - yes I have two for you, but each quite different.
The first album uses MME Lost and Found range.  I focused on  my friends OE, making this a mini album for one of her trips during her time in the UK. Ive left the bags open and added tags for journaling or photos.


The second album came out of the blue from Adrienne ;)- its a new range from Fancy Pants called Boutique Garden. Its quite different and not my usual taste, shall we say :) but is'nt that half the challenge?  This pad has two possibilities either masculine with ranges of greys and  beige or feminine with ranges of lavendar and white.  So what to do?!!
I came up both lol!  I made an album that could cater to both and a card that was distinctly feminine.
After a weekend at retreat I came home and made the cover for this album and channelled my inner Cindy Porter :))  using paint, texture paste, inking, and stamping.


And this is the card...................


So there you have it :) Thanks for popping by!
Megan

Monday, 10 September 2012

DT Inspiration - MME Miss Caroline

Hi everyone!

I hope you had a fantastic weekend and found some sunshine amongst this crazy weather we've been having. I didn't get a lot of card making in unfortunately as I spent some much needed time in the garden and playing with my gorgeous lab Bailey.

Today I'm sharing some inspiration using the My Minds Eye Miss Caroline Howdy Doody Lovely range.

I'm a huge fan of the whole Miss Caroline collection so I was very pleased to be sent these beautiful papers to work with. They're just so girly and the colours are divine! And don't get me started on the wood...

I've kept my first card reasonably simple using strips of the paper and punching them with a butterfly punch. I used a strip of fabric tape and some rub on transfer for the detail down the bottom. The Miss Caroline range has a gorgeous sheet of floral rub on transfers that are so easy to use.


For my second card I've used the Tim Holtz rosette die and the punched out butterfly from my first card as my main focal points. I love how this range ties in orange and pink together, not a common combo, but it really works.


Hope this inspired you :)


x Lana and Bailey ;-)

Supplies used: MME Miss Caroline Howdy Doody Lovely Mum's Paper,  MME Miss Caroline Howdy Doody Lovely Wallpaper Paper, MME Miss Caroline Howdy Doody Happy Rub-on Transfers.


Wednesday, 29 August 2012

Use Your Stash Challenge #3

Hi everyone :)

It's now my turn to inspire you to scrap your stash so you can win a $20 Scrappin' Patch voucher! There's so many goodies instore so it's a great time to enter.  You must only use product purchased pre 2012, excluding cardstock.

This week is a colour challenge!

Since we're nearing the end of winter (yipee!) I thought it would be nice to give it a final send off with some pretty autumn/winter tones. Here is the colour palette...


And here is my take...


I've had scraps from this Kaisercraft Peachy Keen paper pad hanging around for AGES so it's nice to finally see them made it onto a card. The cute badge detail is also from an American Crafts badge range that I bought yonks ago with good intentions (this is only the second one out of eight that I've used!).

How the competition works... Each Wednesday morning a challenge will be posted on the blog by one of the DT girls. Your take on the challenge (either a card or a layout) needs to be uploaded by midnight on the following Tuesday and all submissions will go in the draw to win a $20.00 voucher. We are using Inlinkz to upload to the blog. To do this see the 'Add Your Link' button below and upload the link to your creation on your blog or a gallery. Let us know if you have any questions :)

x Lana

Monday, 20 August 2012

Father's Day Inspiration with Lana

Hi everyone!

Following on my theme from last time, I've got a few Father's Day cards to get you inspired! I've used the Echo Park Family Man range for all of my cards today. I'm seriously inlove with this collection! Everything about it... the colour palette, the imagery, the fun journal pieces... love! And as I said before, the PERFECT collection for Father's Day.

Now onto my first card...

'Everyday Hero - my Dad!' I'm loving the fun sentiment piece. I paired this with a builder's paper that features a bunch of tools. I also added a couple of arrows to put the focus on Dad. I'm a huge fan of dimensional adhesive, infact none of my cards are flat, so there are a few layers on this card to give it that extra punch.


My next 2 cards feature a popular icon of the moment - the moustache! Everywhere you look there's a moustache! Cookie cutters, jewellery, gift wrap, clothing, mugs etc etc. I think they're super cute and instantly give a manly vibe so I thought perfect for Father's Day.

My first moustache card features another fun sentiment piece 'Just like bacon... you make everything better' I just added 'Dad' in with some prima alphabet stickers. This card also features a lot of dimension and I added some Glossy Accents to the heart for that extra shine. I think it looks very cute!


My second moustache card is kept very simple on a white cardstock. I think it really shows off the moustache and sentiment. How cute are the row of ties?! I've also added a touch of Glossy Accents to the moustache to give it a lift.


And there you have it. I can't wait to show you my next projects. They're bound to put a bit of spring into your step ;-)

x Lana

Products used: Echo Park Family Man collection, Glossy Accents

Saturday, 11 August 2012

Step By Step - Origami Tie

Hi everyone!

With Father's Day just around the corner on September 2nd, now is a great time to start thinking about Father's Day cards.

If you find making cards for males that little bit trickier (I know I do!) this cute idea will have you whipping up some fun cards in no time. With a little helping hand this project could even be fun for the wee ones too.

So here we go!


STEP 1
Measure a 10cm x 10cm square piece of paper and lay colour side down. The thinner the paper the better as you'll get nice flat folds. Fold paper in half diagonally both ways but only crease the centre to mark the spot.

STEP 2
Fold both sides to the centre.

STEP 3
Fold both sides to the centre again.

STEP 4
Fold down the top tip.

STEP 5
Flip paper over and fold top half to the centre crease.

STEP 6
Fold the top half back over. This creates the knot of the tie.

STEP 7
Flip paper over and make the knot creases by folding the top left and right corners to the centre.

STEP 8
Make a diagonal fold from the bottom of the crease made in Step 7 to the lower corners. This creates the shape of the tie. I used a metal ruler to create a sharp straight edge.

STEP 9
This part can get a little tricky. Open the paper in the top knot section and make a squash fold by pressing the paper flat. Do this to both sides. This creates the shape of the knot.

And you're done! I always recommend doing a couple of test goes on some scrap paper so you get the hang of it.

Here is my tie on a Father's Day card for my dad.


I used the amazing Echo Park Family Man range on this card - it's so perfect for occasions such as Father's Day. Make sure you check it out on the Scrappin' Patch online store.

I hope you enjoyed this tutorial. Make sure you share your Father's Day creations with the rest of the Scrappin' Patch family on the Facebook page. We love seeing your amazing work!

x Lana

LinkWithin

Related Posts Plugin for WordPress, Blogger...