Do you see those really lovely napkins and wonder what you could do with them? I love them and have a little collection. Now that I have found a very successful way to adhere them to cardstock I will be buying quite a few more!!!!!! In the past I have used modge podge or a special napkin glue to adhere them to laminating pockets but this new technique I have mastered is much easier, mess free and makes paper that is like material to touch.
So this is what you need
A cute/pretty paper napkin
An iron and ironing board
glad wrap
cardstock cut to size
old paper to use as a protector
1. You need to cut a piece of cardstock to the size you need for your project. Lay it on some paper ( I used an old colouring book of the kids)

2. Cover the piece of cardstock with glad wrap, this needs to be just bigger than the cardstock

3. Cut the napkin to size, just larger than the cardstock
4. Peal all the non- patterned layers of paper away from the napkin. You should be left with a very thin piece with the pattern on.

5. Lay the napkin on the glad wrap

6. Add another piece of paper or 2 over all the layers and iron over your little napkin sandwich
7. Iron for just a minute or 2. The glad wrap will melt and adhere the papers together.

8. Peel back the top paper protector and see if your napkin has adhered. If some corners are still loose cover over again and re iron the needed areas.
9. Turn over your cardstock and trim off the excess Gladwrap and napkin
10. Now you have a lovely piece to embellish your page or make a card with. It feels just like a piece of material and looks very wrinkle free and strong!!!
Here are some examples of napkins I have used and some ideas of how to use them.

here is the butterfly used again, This time I used glue onto a laminating sheet. It took a while to dry and it has broken apart in places but still looks cool


a card for our dear little Aurelia's 5th birthday on Friday!!!

Now I challenge you to use your iron and some napkins to make something gorgeous. Upload you layouts/cards to the gallery. I will open a technique Tuesday and Iron category for you to show us what you have been making. I will send a RAK out to a few of you. This will include a variety of napkins to use in the future!!!!
 get your creative pieces into the gallery by Friday 28th August to be in to win!!!!
 On this page, I used 2 of the butterflies as masks. I put temporary adhesive on the printed side of the butterfly, stuck it to the page and Glimmermisted, then gently removed the butterfly masks, and rubbed off the temporary adhesive, and I was still able to use the butterflies on another layout. I then used the diecut sheet with the butterflies removed, as a stencil, placing it over the masked butterflies, then applied swirl rubons. I very gently used a kraft knife to cut around the inside edge of the stencil, ensuring I didn't cut into the background paper, only through the rubons, to make sure the rubons stayed put when I removed the stencil. It is a very effective look. I then also used 2 of the pink/red butterflies on the page. Check out the pic below for a closeup of the rubons on the masked butterflies.
 I used the following products on this page, available in the shop:
 First, I painted a round circle on the background page with cream paint, then adhered the body of each butterfly around the circle. I bent up the wings, then applied Kindyglitz for some sparkle. I then added the photo, title, journalling and ribbon bow inside the circle, and the page was complete. And look at all those gorgeous butterflies! Below is a closeup of the Kindyglitzed butterflies:
 I also used the following product on the above layout:
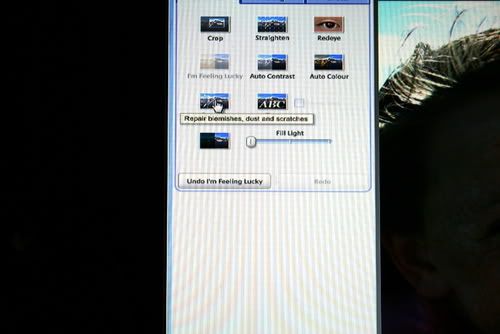
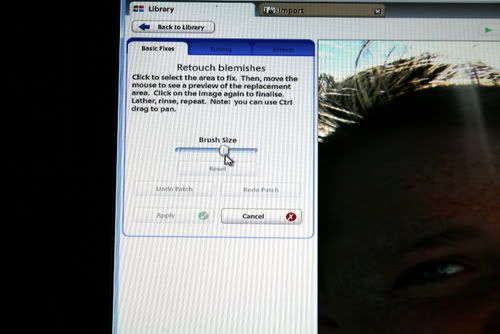


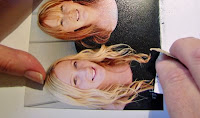


 Oh, and this is the layout with my sanded-edge photos on. But if you look closely, you will see most of my layouts use this technique!